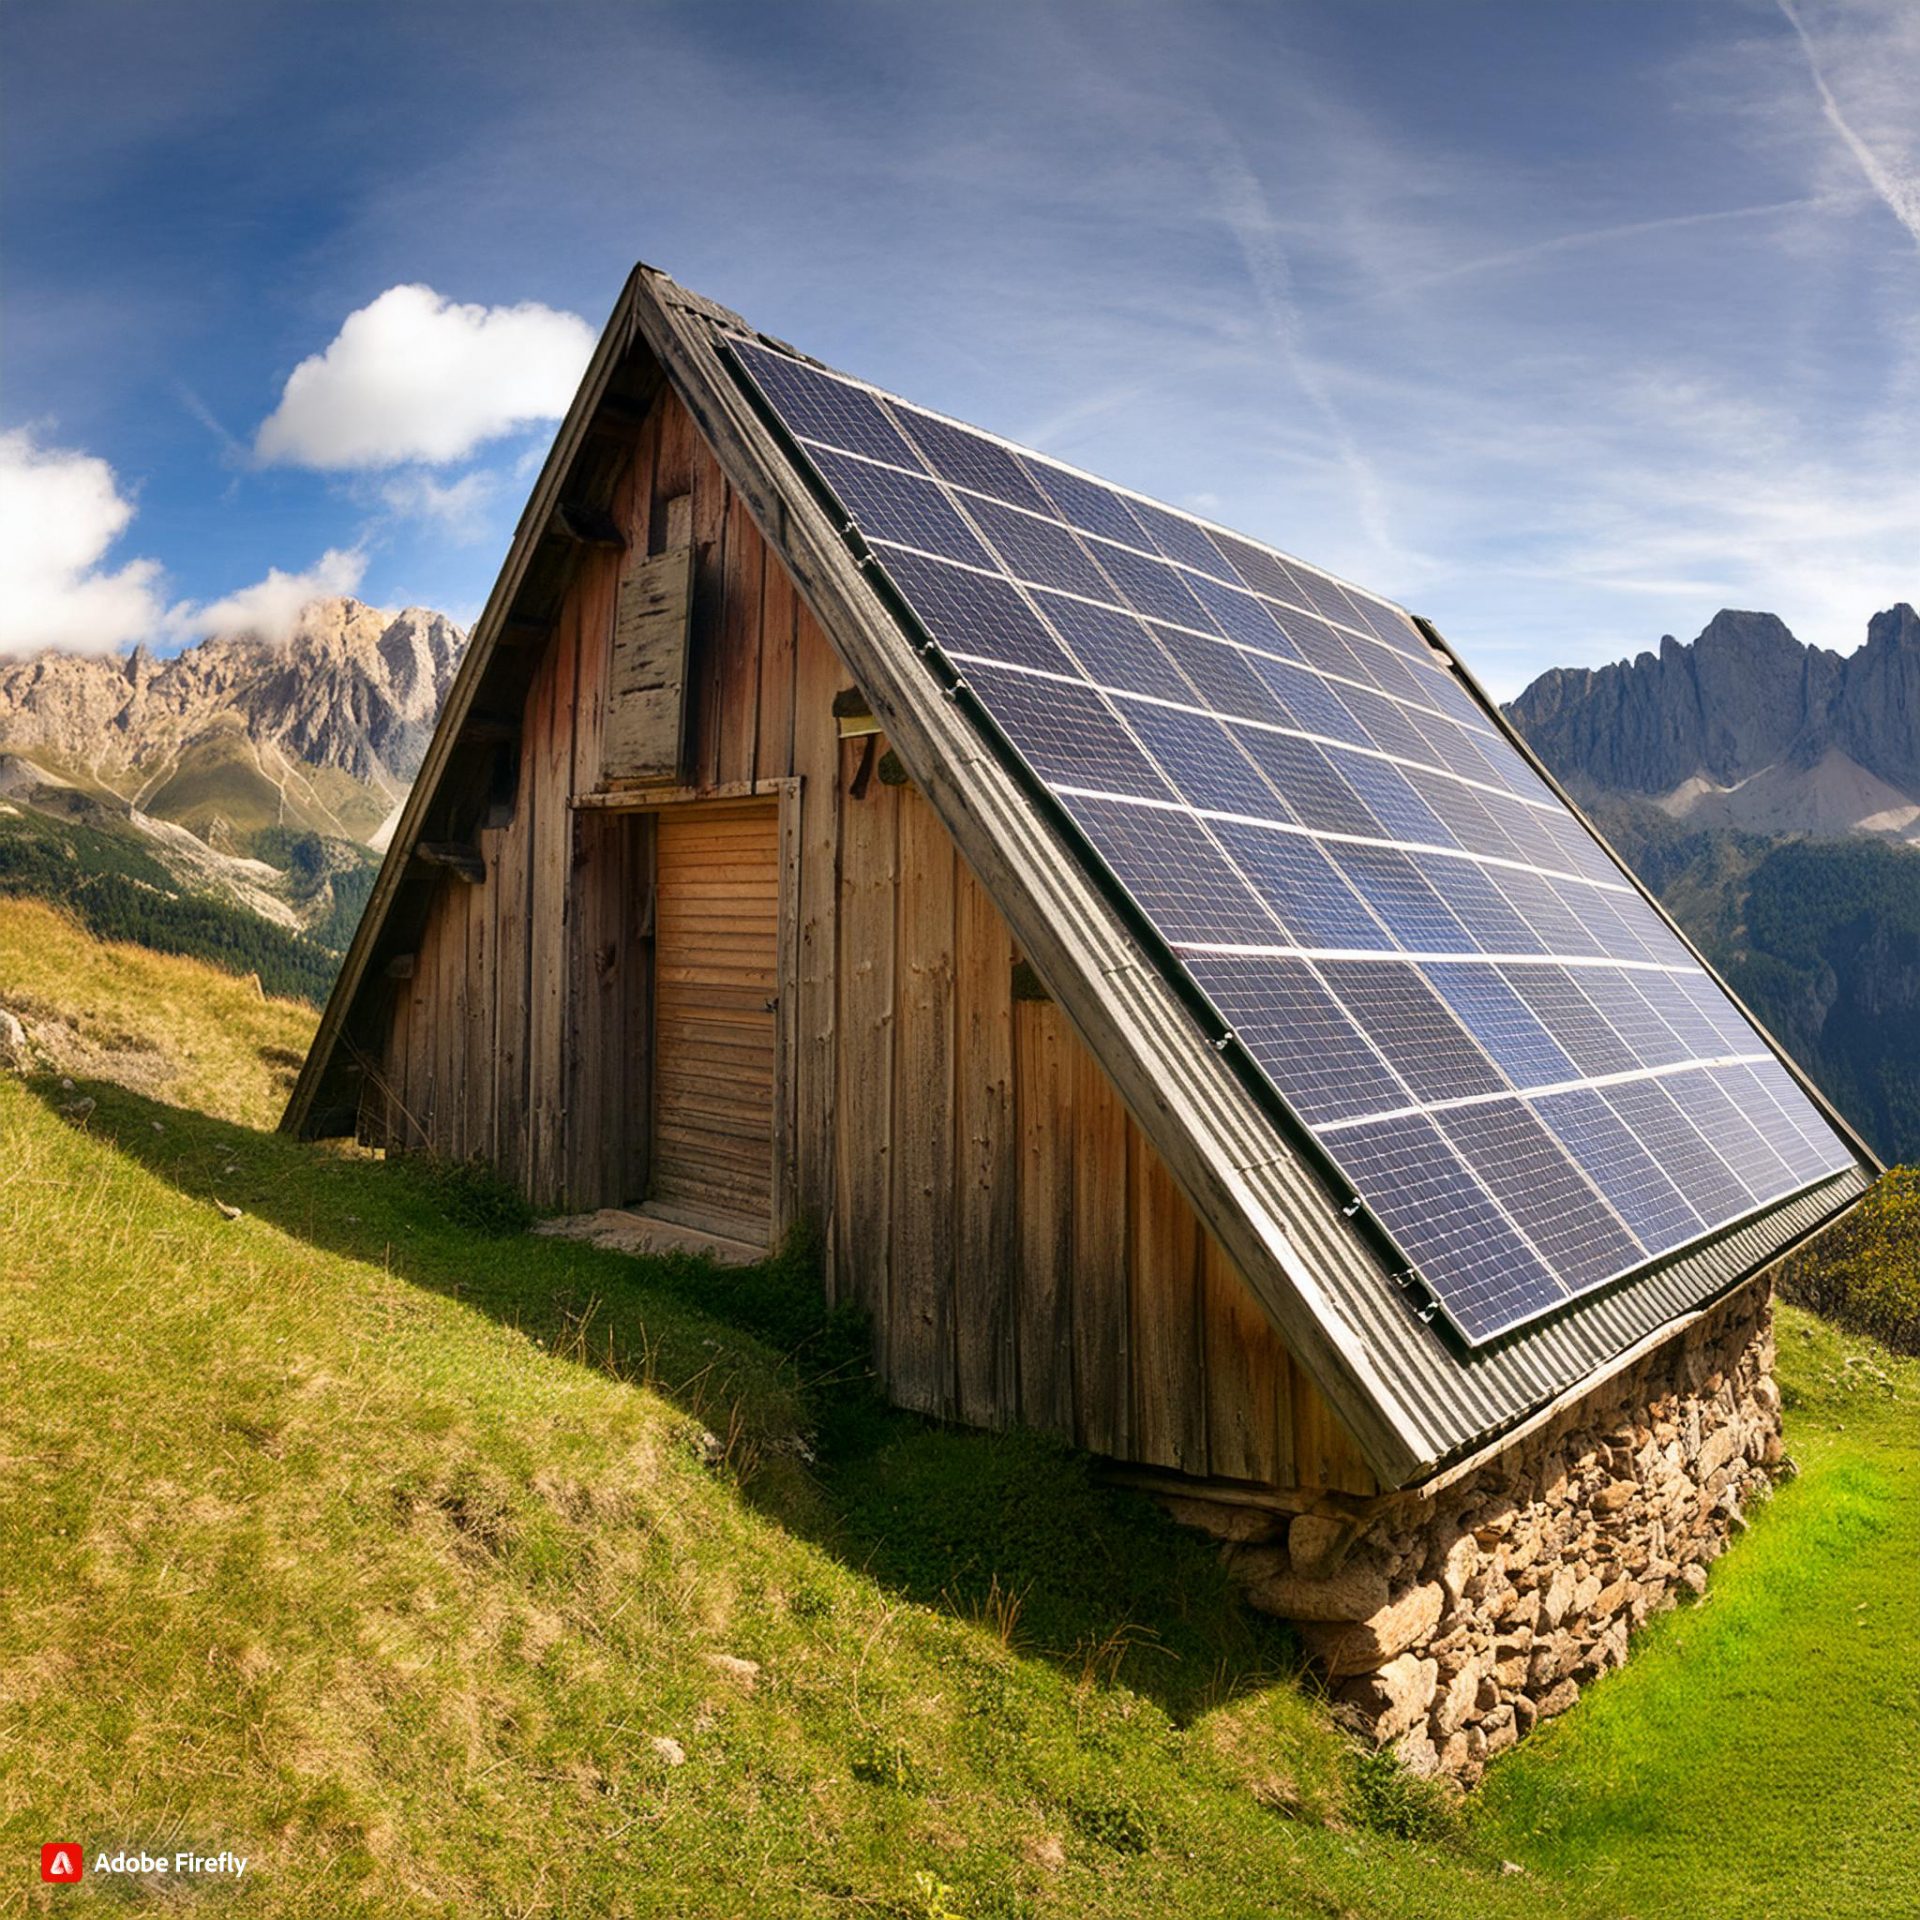
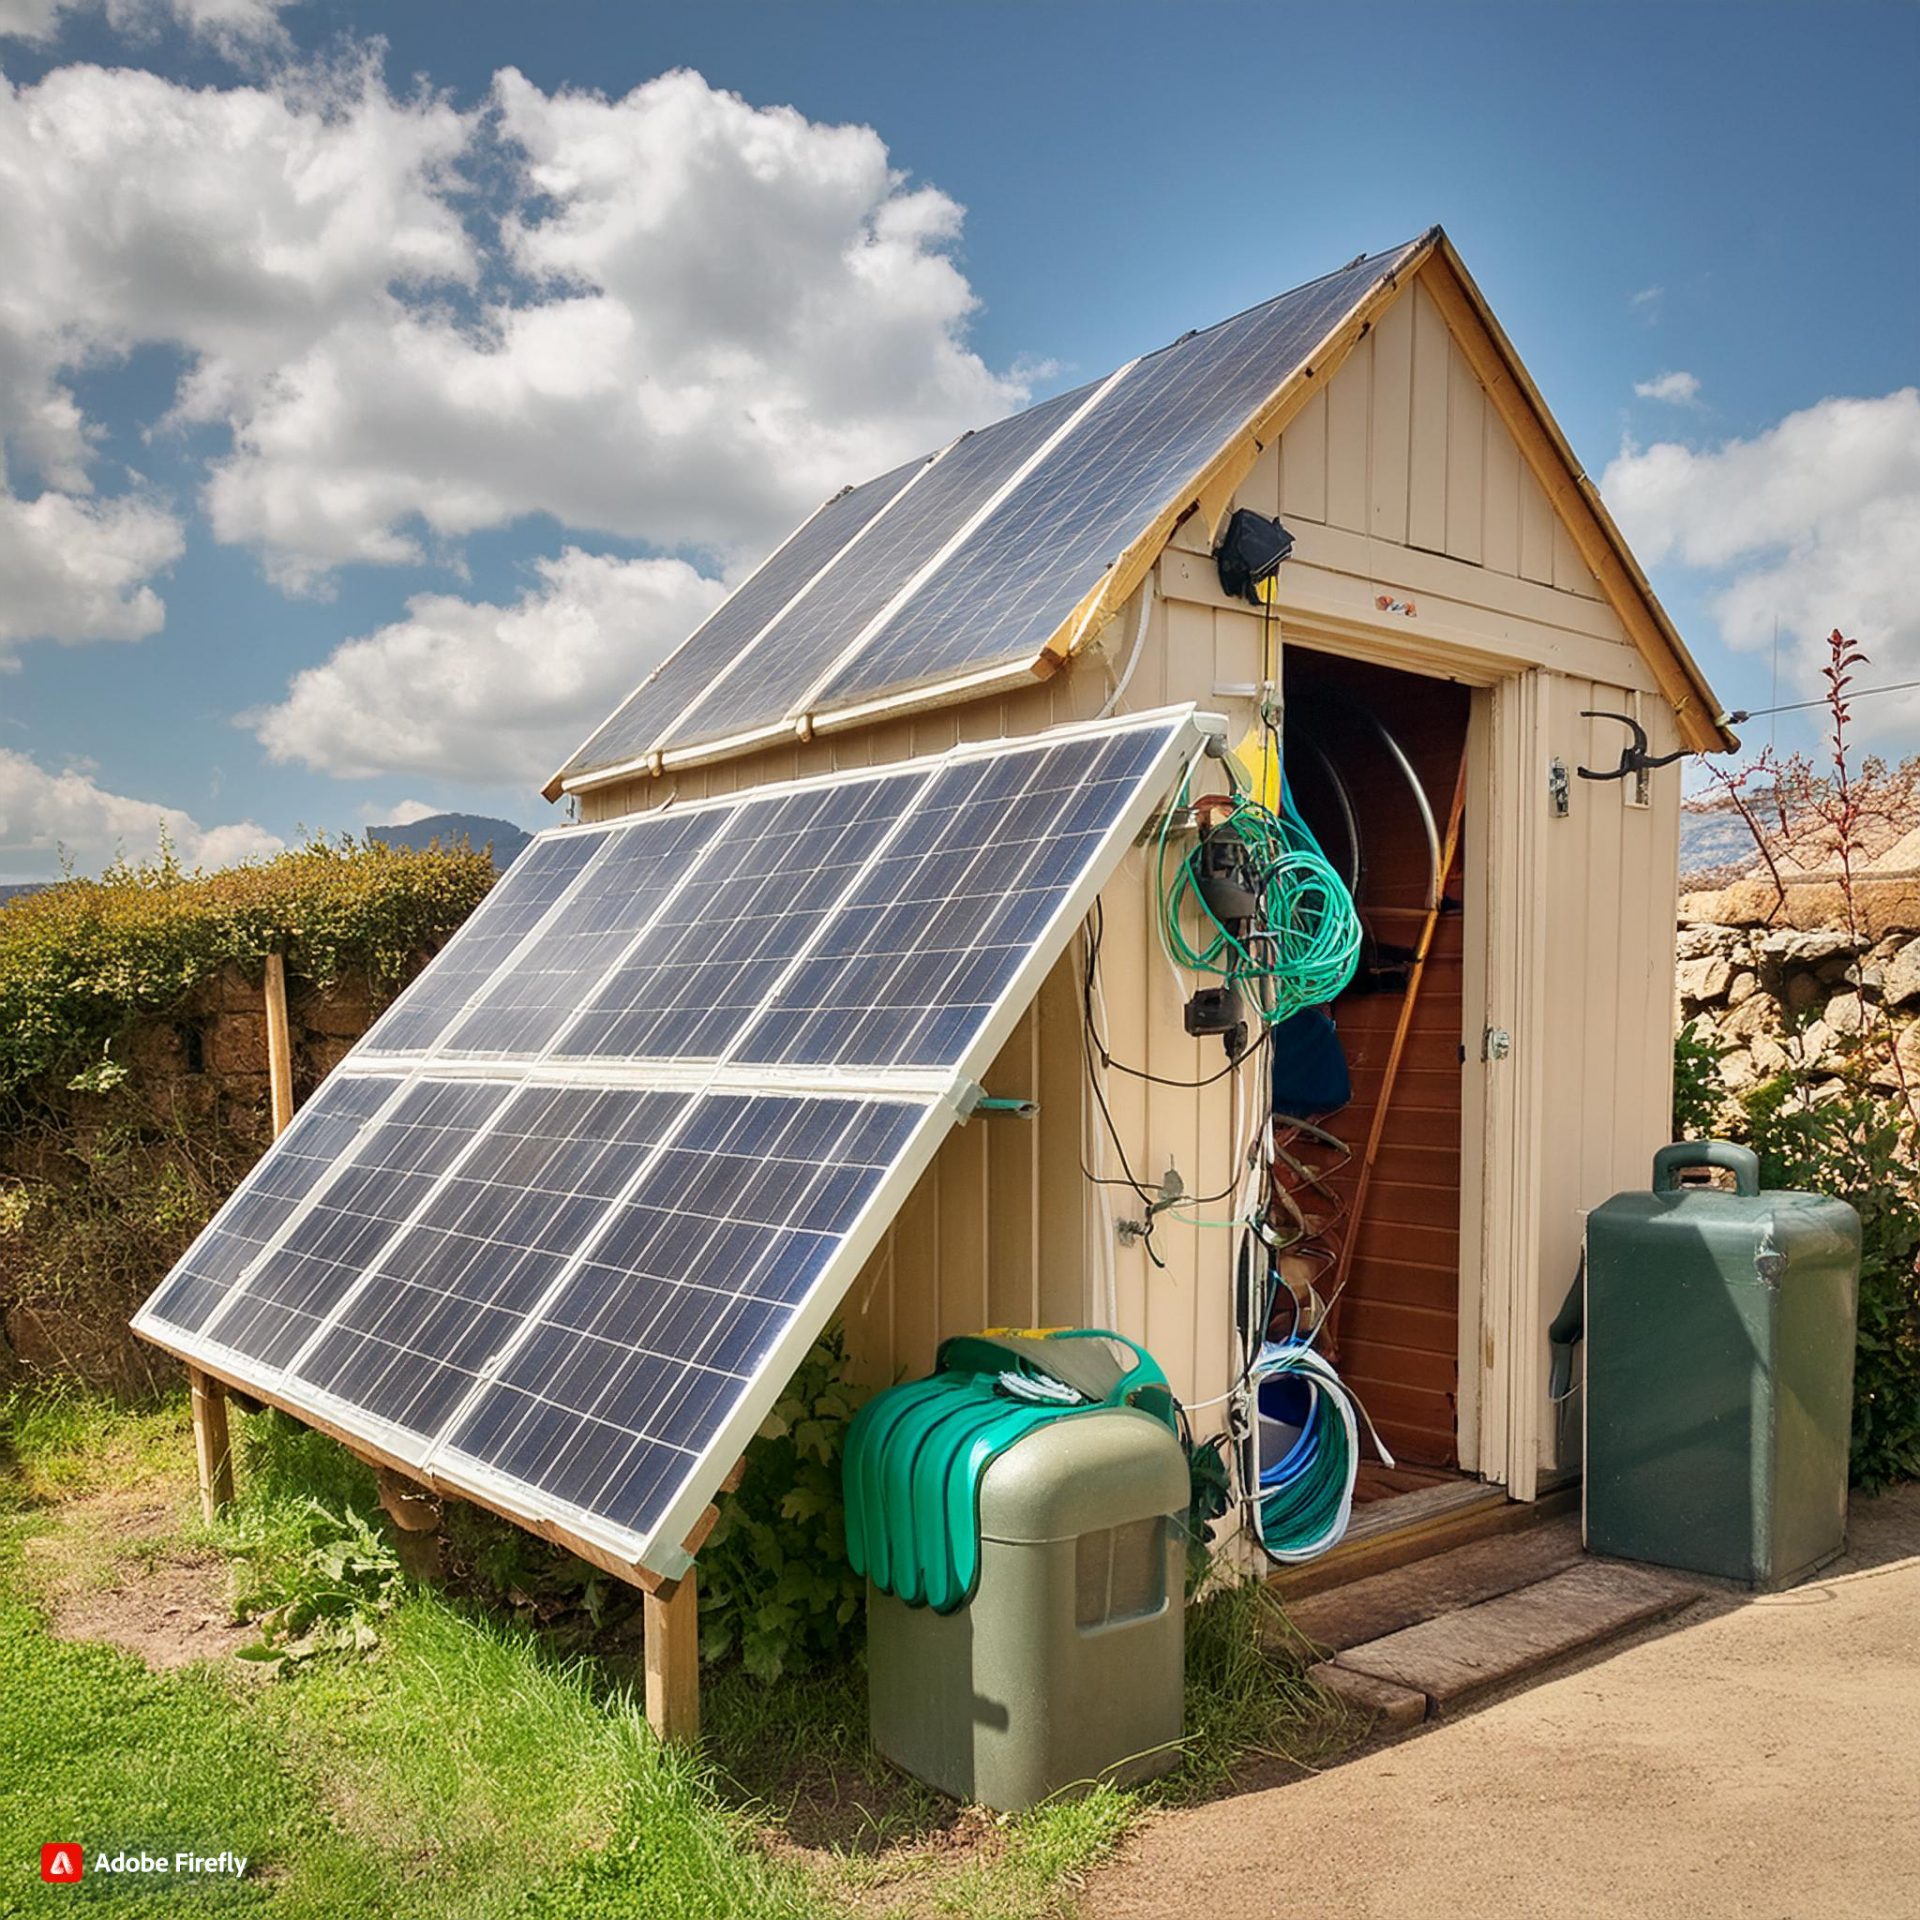
Are you considering a solar power kit for shed to generate clean, renewable energy? An off-grid solar kit allows you to power your shed without relying on the utility grid or noisy generators. With the potential for solar tax credits, investing in a solar power kit can be an economical choice with long-term benefits.
This guide explores key factors to consider when selecting a solar kit tailored to your shed’s energy requirements. We’ll discuss determining your power needs, evaluating panel types and efficiency, ensuring component compatibility, assessing costs and return on investment, and more.By carefully choosing the right solar power kit for your shed, you can harness the sun’s energy sustainably and cost-effectively.
Backyard Revolution:The Ulimate Guide to build your mini solar system
1.Determining Shed Power Needs
To determine the appropriate solar power kit for your shed, it’s crucial to assess your energy needs accurately. The power requirements will depend on the purpose of your shed and the appliances or tools you plan to use.
Estimating Power Consumption
- Make a list of all the electrical devices, tools, and appliances you intend to use in your shed. This could include lights, power tools, a computer, a heater, a fan, or any other equipment.
- Check the wattage rating of each item, which is typically listed on the device or in the user manual. The wattage indicates the amount of power the device requires to operate.
- Estimate the daily usage time for each item. For example, if you plan to use a 20-watt LED light for 5 hours per day, its daily energy consumption would be 100 watt-hours (20 watts x 5 hours).
- Calculate the total daily energy consumption by adding up the watt-hours for all the devices you plan to use. This will give you an estimate of the total energy your shed will require in a day.
Here’s an example calculation:
| Device | Wattage | Daily Usage (hours) | Daily Energy Consumption (watt-hours) |
| LED Lights | 40W | 5 | 200 Wh |
| Laptop | 200W | 8 | 1600 Wh |
| Printer | 200W | 1 | 200 Wh |
| Coffee Machine | 600W | 0.5 | 300 Wh |
| Total | 1040W | 14.5 | 2300 Wh |
In this example, the total daily energy consumption for the shed is approximately 2300 watt-hours.
Backyard Revolution:Reduce your electricity bill by 40%.Buy now to get maximum discount
Considering Peak Sunlight Hours
The amount of solar energy your system can generate depends on the peak sunlight hours in your location. Peak sunlight hours refer to the average number of hours per day when the solar radiation is at its highest.
You can find the peak sunlight hours for your area using online solar maps or calculators provided by organizations like the National Renewable Energy Laboratory (NREL). For instance, if your location receives an average of 6 peak sunlight hours per day, a 400-watt solar panel system could generate approximately 2400 watt-hours of energy (400 watts x 6 hours).
Factoring in System Efficiency
When calculating your solar power needs, it’s essential to consider the efficiency and losses of your solar system. These losses can occur due to factors such as the charge controller, inverter, battery, wiring, and shading.
A general rule of thumb is to assume an average system efficiency of 70%, meaning that only 70% of the solar panel’s rated output will be available for use. However, if you know the specific efficiency of your system components, you can use a more accurate value in your calculations.
2.Measuring Roof Size for Solar Panels
Determining Available Roof Space
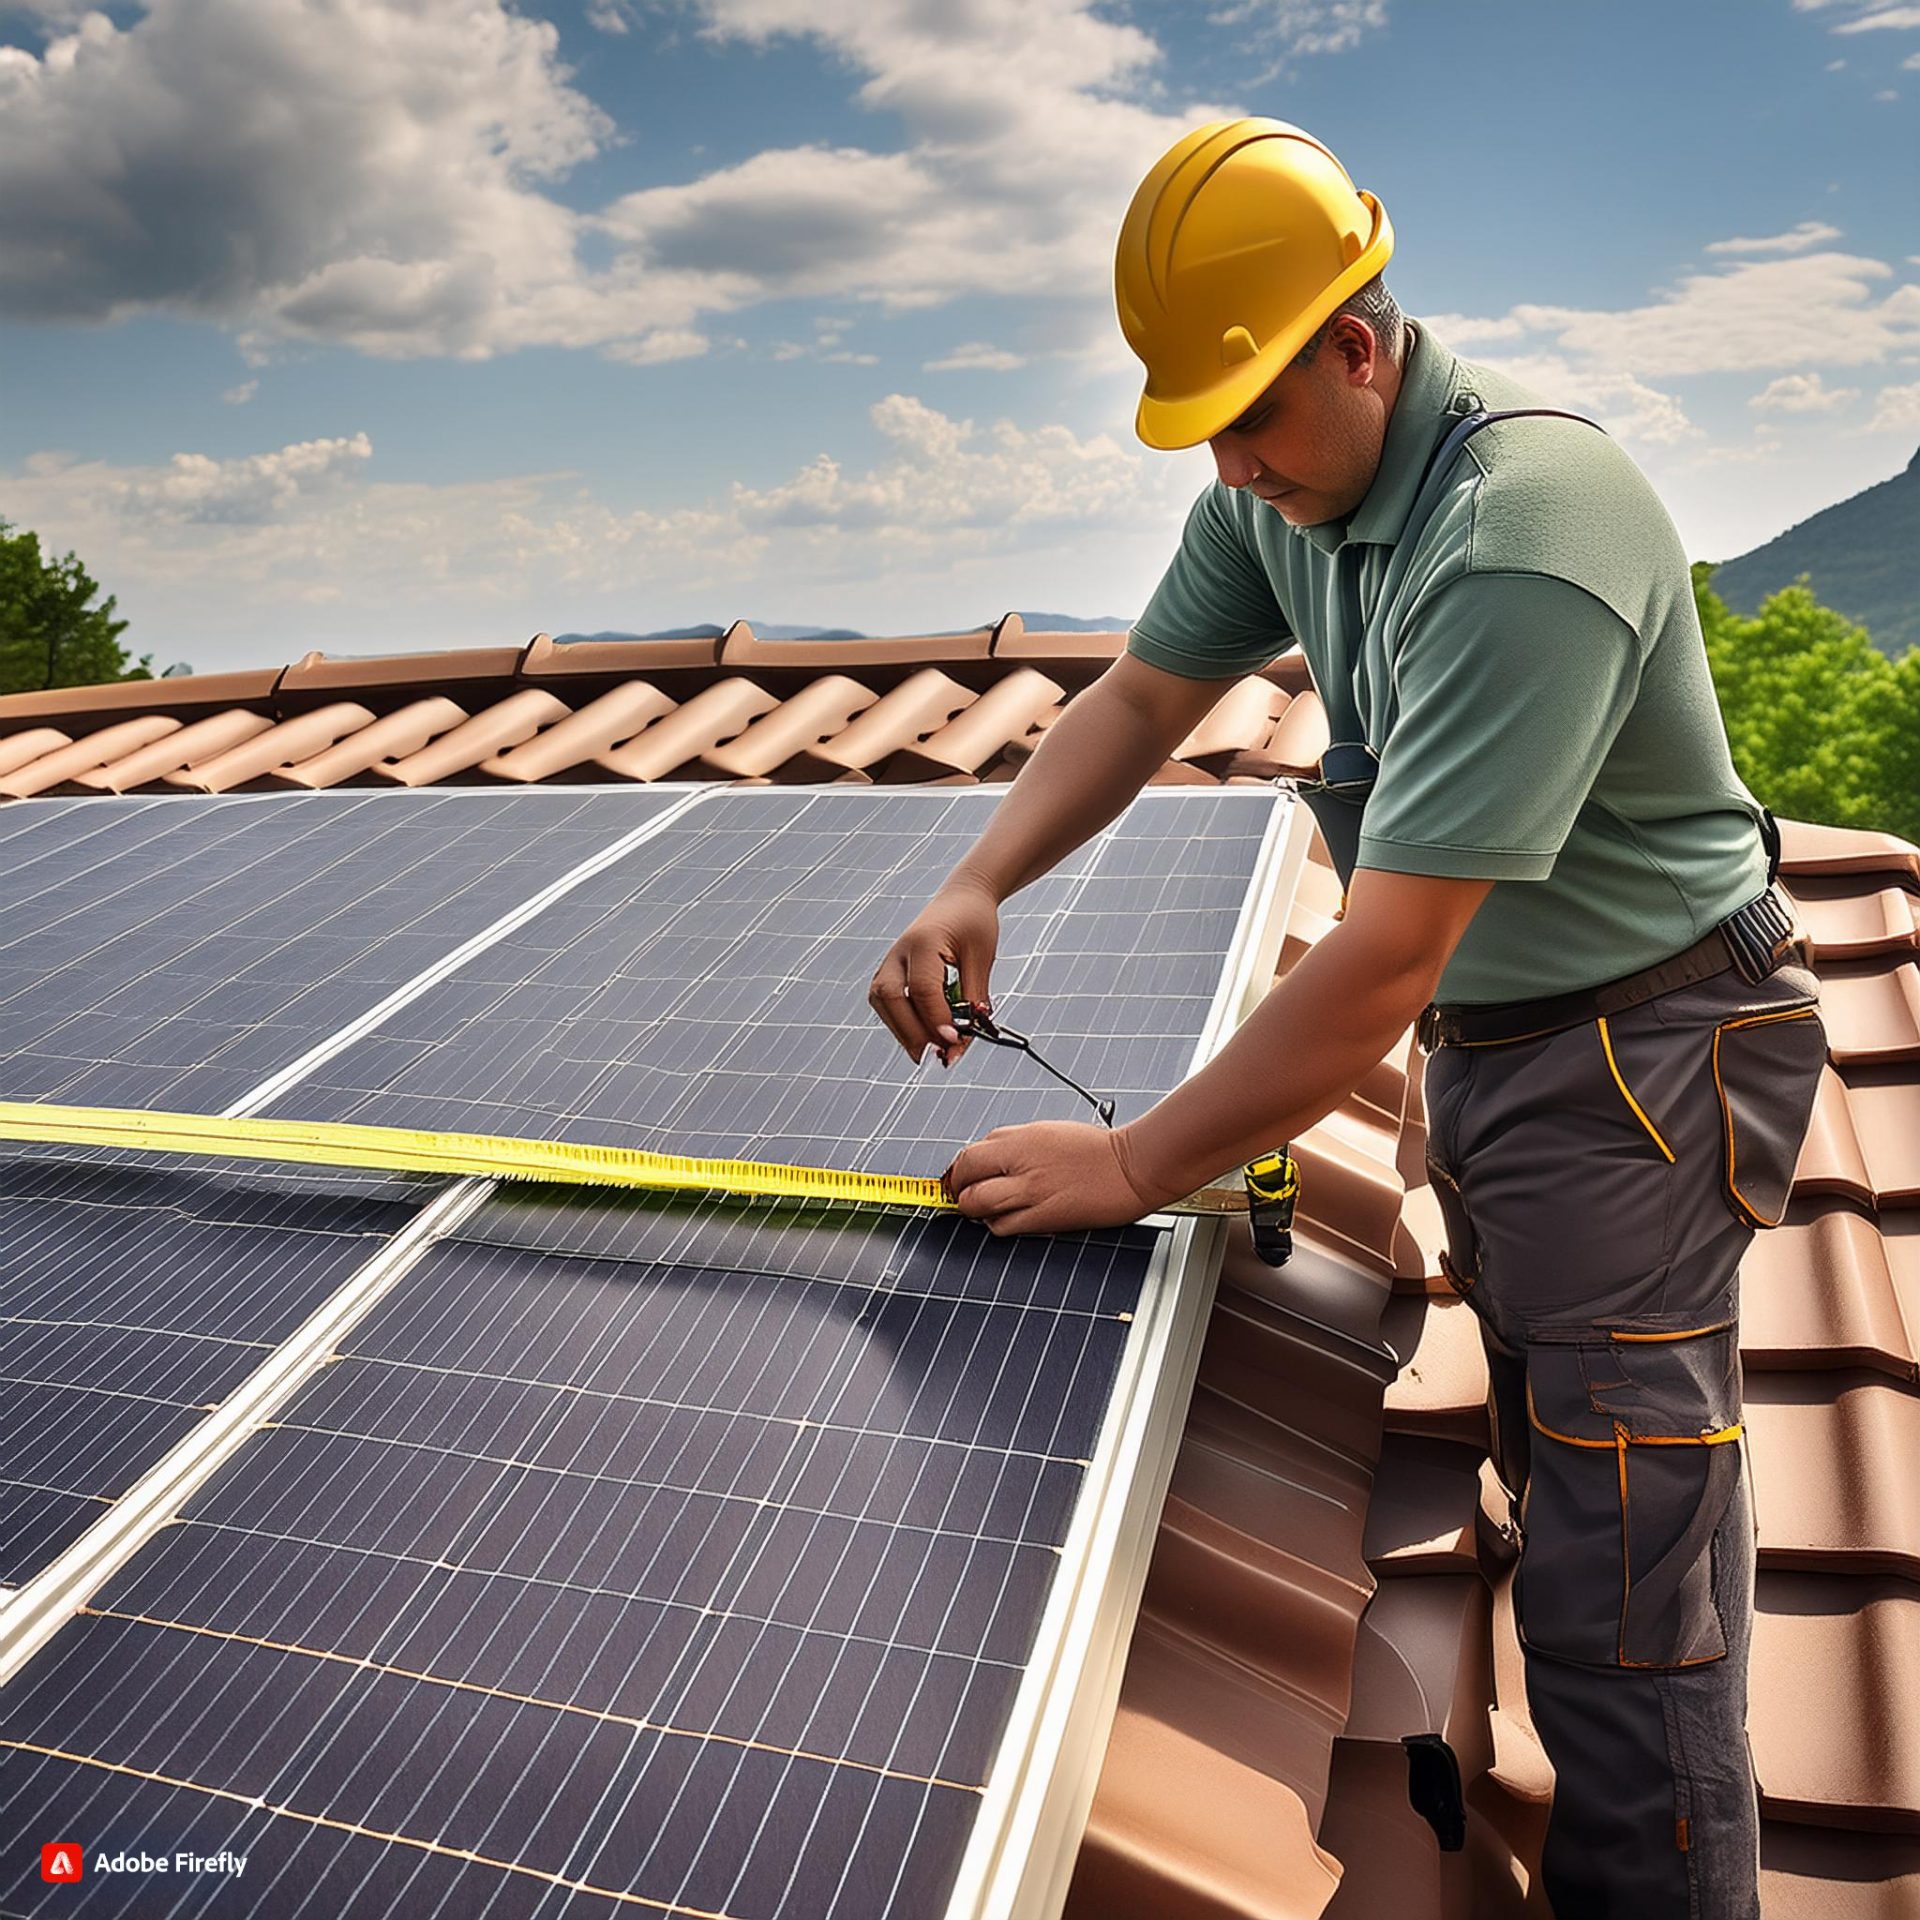
Accurately measuring the available roof space is crucial when planning to install solar panels on your shed. The size of the roof will determine the number of solar panels you can accommodate and, consequently, the amount of solar energy you can generate.
- Assess the total roof area: Measure the length and width of your shed’s roof to calculate the total square footage. This will give you an idea of the maximum potential space available for solar panels.
- Identify obstructions and shading: Look for any obstructions on the roof, such as chimneys, vents, or skylights, as well as potential sources of shading from nearby trees or buildings. These factors will reduce the usable area for solar panel installation.
- Consider roof orientation and tilt: Solar panels perform best when facing south (in the Northern Hemisphere) or north (in the Southern Hemisphere) and tilted at an optimal angle to maximize sun exposure. Evaluate your roof’s orientation and tilt to determine the most suitable areas for solar panel placement.
Backyard Revolution:It only takes 5% of your surface area.50% off only for today.Click here
Calculating Solar Panel Coverage
Once you have determined the available roof space, you can calculate the number of solar panels that can be installed.
- Measure the dimensions of a single solar panel: Typical residential solar panels are approximately 3 feet by 5 feet (or around 0.9 meters by 1.5 meters), covering an area of approximately 15 square feet (or 1.4 square meters).
- Divide the available roof space by the area of a single panel: For example, if your shed’s roof has 450 square feet of usable space, you could potentially install up to 30 solar panels (450 square feet ÷ 15 square feet per panel = 30 panels).
- Consider spacing and layout: Leave adequate spacing between panels for ventilation and access, and ensure that the layout allows for continuous rows of panels to maximize efficiency.
Using Online Tools and Professional Assistance
While manual calculations can provide a rough estimate, several online tools and professional services can offer more accurate assessments of your shed’s solar potential.
- Online solar calculators: Websites like the National Renewable Energy Laboratory’s (NREL) PVWatts web app allow you to input your location and roof details to estimate the solar energy production potential and required system size.
- Solar installation companies: Professional solar installers often use specialized software, such as Sunbase’s Solar Proposal Software, to analyze satellite imagery and provide personalized system designs tailored to your shed’s specific roof characteristics.
- On-site evaluations: For the most precise assessment, consider hiring a certified solar installer to conduct an on-site evaluation of your shed’s roof. They can take accurate measurements, assess shading patterns, and provide recommendations for optimal solar panel placement.
3. Choosing the Right Solar Panel Type
Types of Solar Panels
The three main types of solar panels — monocrystalline, polycrystalline, and thin-film — differ based on the photovoltaic (PV) cell material used to absorb sunlight.
Monocrystalline Solar Panels
- Monocrystalline solar panels, or mono panels, are made from a single silicon crystal. They are the most efficient type of solar panels, providing more wattage per square foot.
- Monocrystalline panels are particularly efficient as temperatures rise, making them an ideal option for sheds, which typically have limited roof space.
- These panels are more expensive to manufacture since they consist of a single silicon crystal. However, their high efficiency and resilience in extreme temperatures make them the best choice for rooftop installations, including sheds.
Polycrystalline Solar Panels
- Polycrystalline PV solar panels consist of multiple silicon cells. They are less efficient than monocrystalline panels, especially in higher temperatures.
- While less efficient, polycrystalline panels are more affordable than monocrystalline panels due to their simpler manufacturing process and lower production costs.
- Polycrystalline panels can be a cost-effective option for powering a shed, but you may need more panels to reach the required wattage compared to monocrystalline panels.
Thin-Film Solar Panels
- Thin-film flexible solar panels are made of thin layers of silicon or cadmium and are lightweight and flexible.
- These panels are far less expensive than monocrystalline or polycrystalline panels but are also the least efficient at capturing solar energy.
- Thin-film panels are best used as an addition to rigid solar panels to maximize installation space on irregular surfaces, like uneven parts of your shed’s exterior or the outside of an RV. However, it rarely makes sense to build a solar array solely out of flexible solar panels.
Backyard Revolution:It only takes 4hours to build a mini solar plant.Click here
Factors to Consider
When choosing the right solar panel type for your shed, consider the following factors:
- Efficiency: Monocrystalline panels are the most efficient, followed by polycrystalline and then thin-film panels. Higher efficiency means you’ll need fewer panels to generate the required wattage, which is crucial for sheds with limited roof space.
- Cost: Monocrystalline panels are the most expensive, followed by polycrystalline and thin-film panels. If you have a tight budget, polycrystalline or thin-film panels may be more affordable options, but you’ll need to install more panels to achieve the desired wattage.
- Temperature Performance: Monocrystalline panels perform better in high temperatures compared to polycrystalline panels. Thin-film panels have a lower temperature coefficient, making them a good option for hotter climates or areas with more annual sunlight.
- Durability: Both monocrystalline and polycrystalline panels are made of thicker materials and can withstand hail hitting at speeds of up to 50 miles per hour. Thin-film panels are less resistant to hail due to their lightweight and flexible nature.
4.Considering Solar Panel Efficiency
When considering solar panel efficiency for your shed, it’s essential to understand the differences between the main types of solar panels: monocrystalline, polycrystalline, and thin-film.
Monocrystalline Solar Panels
- Monocrystalline solar panels are the most efficient type, particularly as temperatures rise. They consist of a single crystal of silicon, making them more expensive to manufacture than polycrystalline panels.
- Monocrystalline panels are ideal for sheds with limited roof space, as they provide more wattage per square foot. Their high efficiency means you can generate the required power with fewer panels.
- These panels are also more resilient in extreme temperatures, making them the best choice for rooftop installations like sheds.
Polycrystalline Solar Panels
- Polycrystalline solar panels consist of multiple silicon cells, making them less efficient than monocrystalline panels, especially in higher temperatures.
- While less efficient, polycrystalline panels are more affordable than monocrystalline due to their simpler manufacturing process and lower production costs.
- To achieve the desired wattage for your shed, you may need to install more polycrystalline panels compared to monocrystalline panels.
Thin-Film Solar Panels
- Thin-film flexible solar panels are made of thin layers of silicon or cadmium, making them lightweight and flexible but far less efficient at capturing solar energy than monocrystalline or polycrystalline panels.
- Thin-film panels are best used as an addition to rigid solar panels to maximize installation space on irregular surfaces, like uneven parts of your shed’s exterior or the outside of an RV.
- However, it rarely makes sense to build a solar array solely out of flexible thin-film panels due to their low efficiency.
When evaluating solar panel efficiency, consider factors like available roof space, budget, temperature performance, durability, and aesthetics.For example, the Renogy 200W Monocrystalline Solar Panel has a cell efficiency of 19.2%, while the SunPower Flexible Solar Panels (thin-film) offer an efficiency range of 22-25%.
Backyard Revolution:Only for today at $39.Click here
5. Ensuring Component Compatibility
Ensuring component compatibility is crucial when setting up a solar power kit for your shed. Building a solar-powered shed is relatively straightforward as long as you follow each step of the installation process carefully and have all the right equipment.
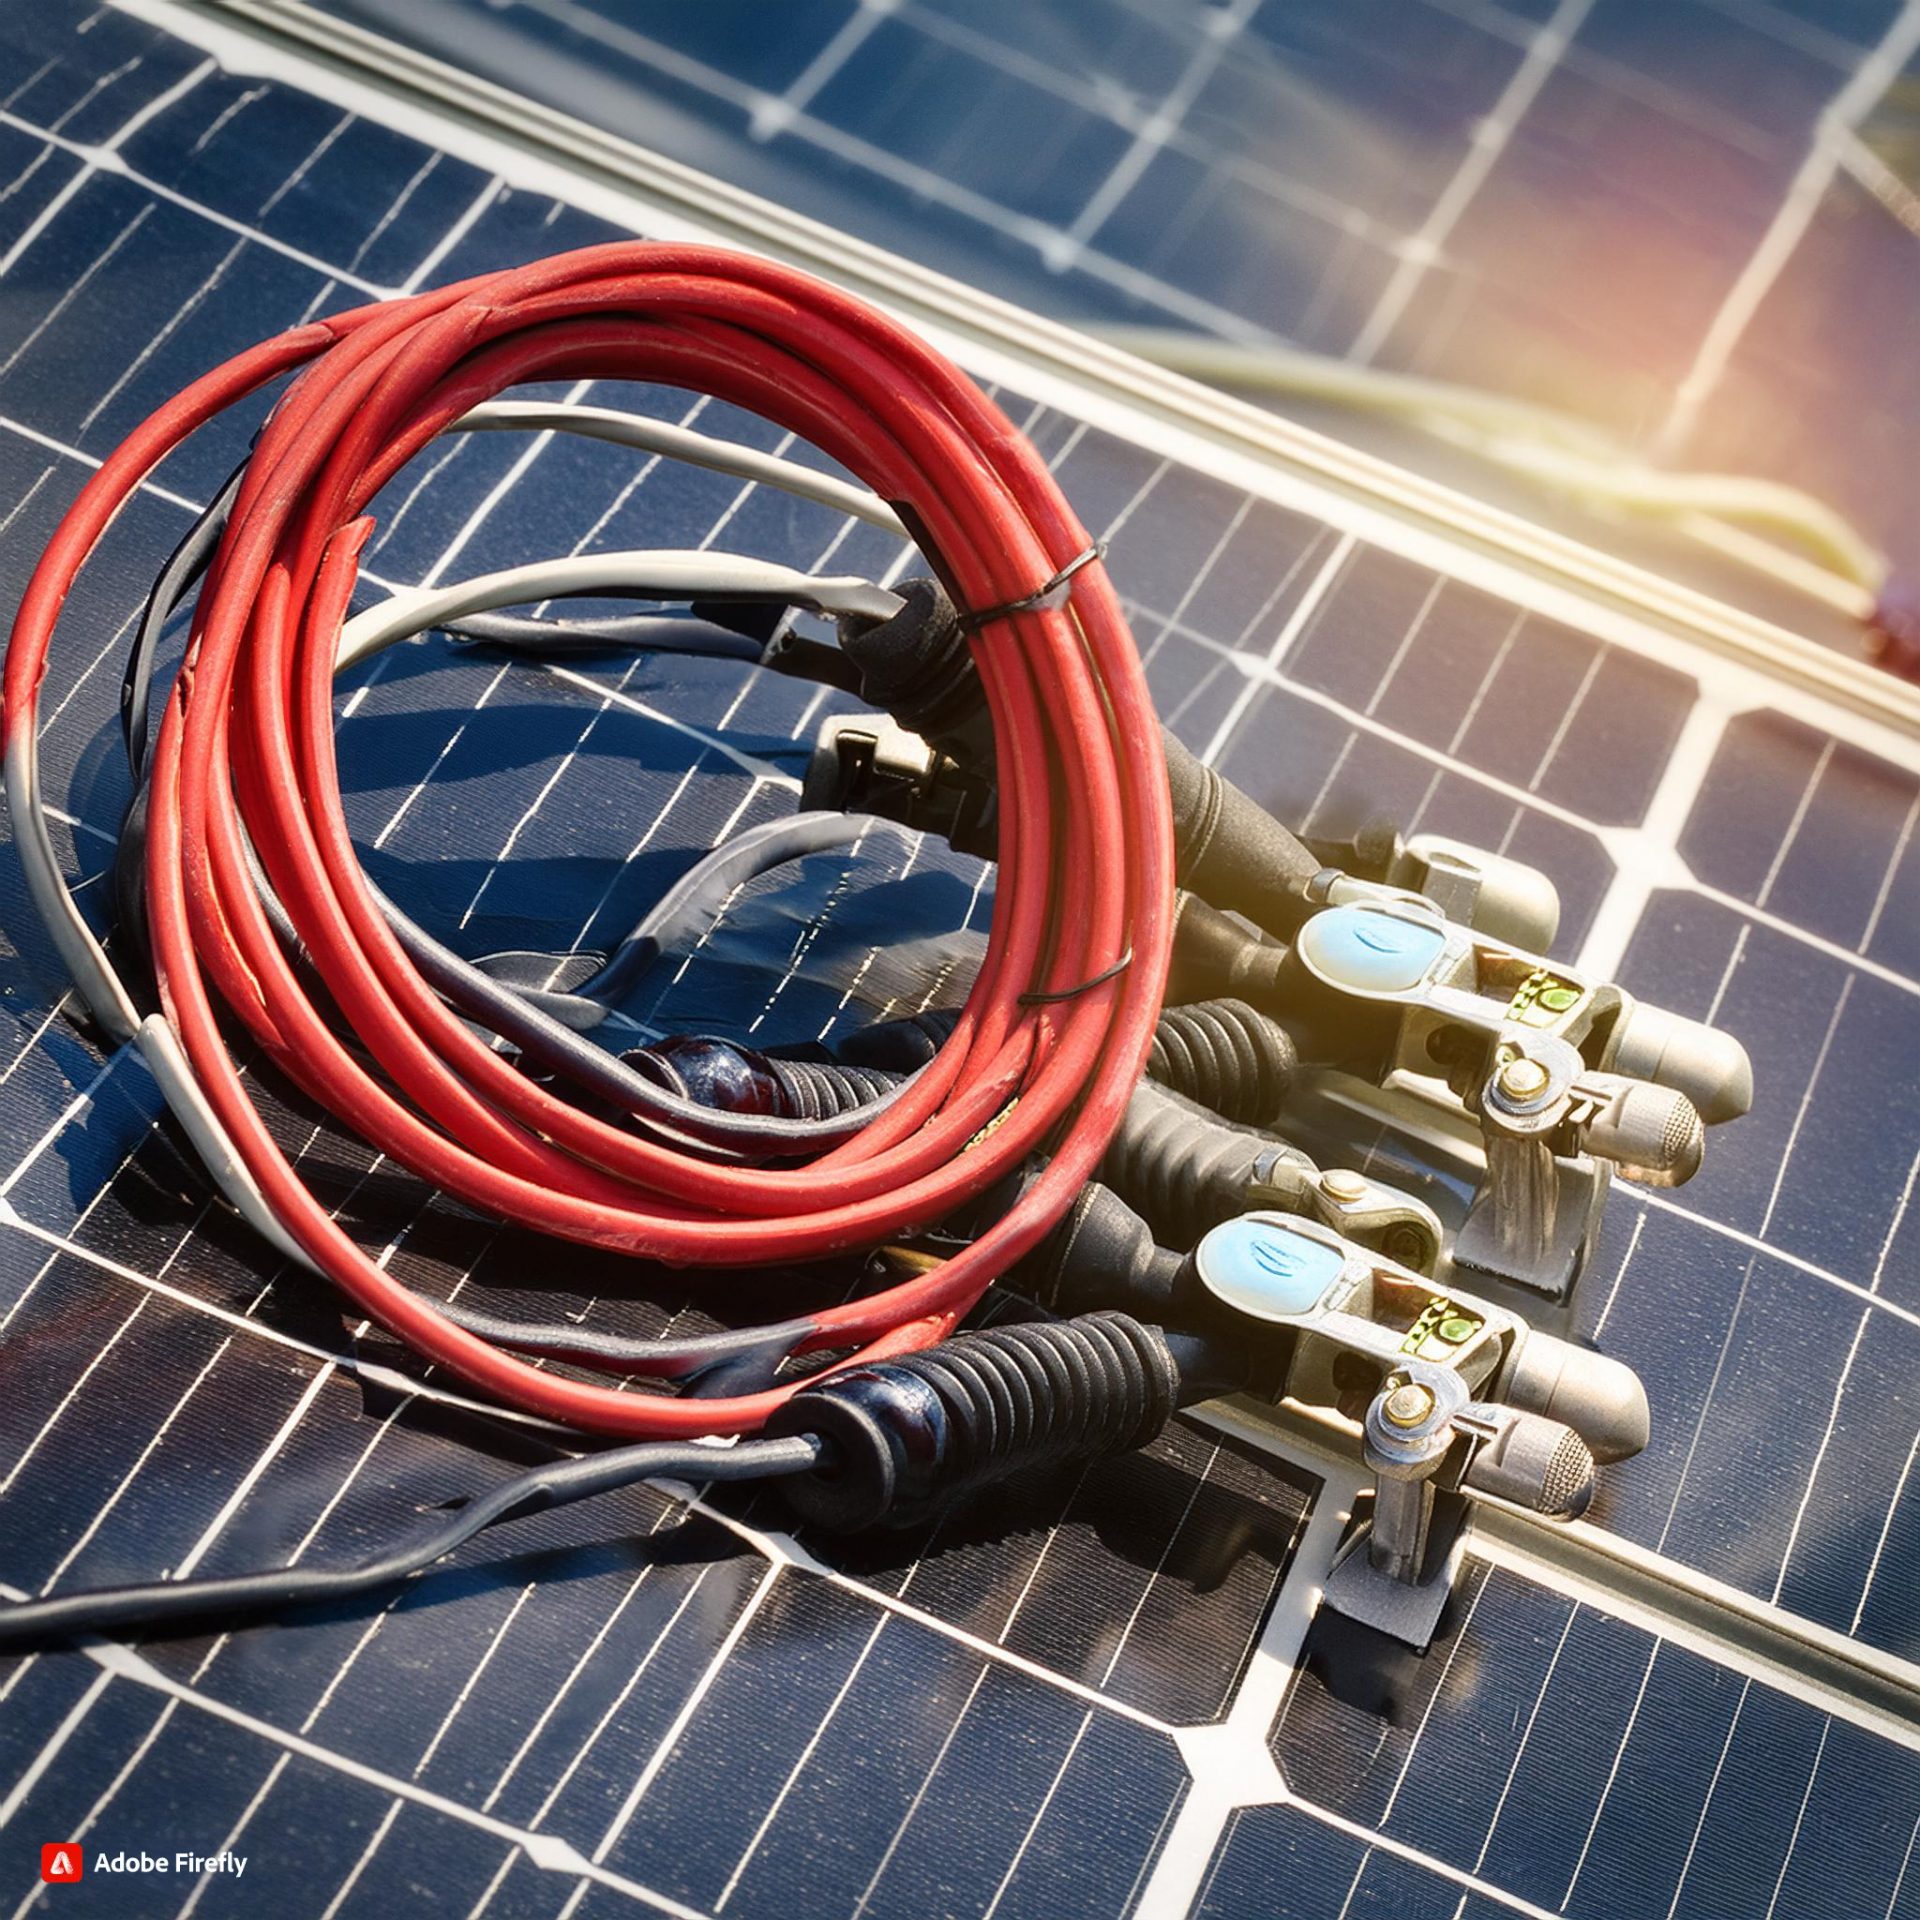
Wiring and Connections
- Run connecting wires throughout the shed. The wire allows you to distribute power throughout the shed.
- Install the solar panel array. For a permanent installation on a shed roof, rigid solar panels are likely your best bet. Portable solar panels give you more flexibility to move the panels easily.
- Wiring your solar panels to a generator or battery system is where your setup comes to life. Start by connecting the solar panels to a charge controller, which regulates the voltage and current coming from the panels to ensure the battery is charged efficiently.
- From the charge controller, wires will run to your solar battery or generator, like the reliable options offered by Bluetti, storing the energy for your use. Ensure all connections are secure and insulated to prevent any power loss or electrical hazards.
System Components
- Set up the portable power station or balance of system components. Portable power stations that connect to solar panels typically include a solar battery, a charge controller, an inverter, and a battery management system.
- A small EcoFlow RIVER 2 Pro Solar Generator is suitable for light use, such as power tools and small appliances.
- An EcoFlow DELTA Pro Portable Solar Generator is better for running larger appliances and power tools.
- EcoFlow solar generators reduce the number of components you need to buy. Everything you need to convert and store electricity from your panels is already built-in.
- An off-grid solar system also needs an inverter and solar charge controller. The charge controller regulates the voltage and current supplied by the solar panels, ensuring safe and efficient battery charging. The inverter converts the DC power (direct current) supplied by your panels and batteries into the AC power (alternating current) needed to power lighting and tools.
- Solar panel kits come with everything you need to install the panels and related equipment yourself. They help take the guesswork out when determining which parts will work together; it can otherwise be challenging to match collectors, charge controllers, and batteries.Higher-end models will likely include:
- Solar collector panel: These panels convert photons into electrical currents
- Charge controller: This device monitors the current to prevent battery damage
- Battery: Stores the DC electricity
- Inverter: Transforms DC electricity into AC electricity
- AC Outlet: Plug-in tools or other items that need recharging
- Lights: DC LED lights offer illumination and conserve the DC electricity.
Final Connections
- Install Connector. Solar generators have AC inputs for plugging your appliances directly into the power station. If you have hardwired your lights and other systems in the shed, you’ll need to install a connector box to connect all the wires into a centralized location.
- Plug into Solar Generator. Once you’ve set up all your connections, plug into the solar generator to supply power to your shed.
- With everything connected, it’s time to bring your solar-powered shed to life. Activate your system according to the manufacturer’s instructions, which usually involves switching on the charge controller and the inverter, if your system includes one.
- The inverter converts the DC electricity generated by your panels and stored in your battery into AC power, which is what most shed appliances and tools use.
- Once powered on, monitor your system’s performance to ensure everything is working as expected, making adjustments as necessary to optimize efficiency.
6. Assessing Costs and Return on Investment

Initial Cost of Solar Power Kit
If your shed only needs electricity for light bulbs and tool recharging, a 200 W solar panel kit can cost you less than $300 based on market research. Since solar kits are off-grid, you will also need a battery system. Solar energy storage can add $200 to $800 to your budget, depending on the capacity. Considering all costs, you could set up a solar energy system for a shed for less than $1,000 to $1,200.
Many companies offer solar panels for small-scale applications, including SunPower, Renogy, WindyNation and GoalZero. The chart below outlines the average cost of solar panel options from each provider.
| Provider | Average Cost |
| SunPower | $3.30 per watt |
| Renogy | $1.38 per watt |
| WindyNation | $1.18 per watt |
| GoalZero | $1.99 per watt |
If you’re considering a solar power system for your entire home, your costs will increase significantly. According to our March 2023 survey of 1,000 homeowners with solar, the average home solar system costs $15,000 to $20,000.
More specifically, you can expect to pay $17,100 for a 6 kilowatt (kW) solar system, and the net cost drops to $11,970 after subtracting the 30% solar federal tax credit. In an area with high energy prices and decent sun exposure, a 6 kW solar system could save you more than $1,500 in annual electricity bills.
Backyard Revolution:Shop now to get maximum discount,Only valid for 24 hours.Click now
Factors Affecting Solar Panel Hardware Costs
Mounting Costs
Beyond the price of your solar panel equipment, the mounting expenditures are another key element in your financial planning. It’s not as straightforward as merely affixing panels to your rooftop. Expert mounting involves a thorough procedure, encompassing site evaluation, system planning, authorization, and the actual mounting.
Generally, the price of mounting can swing broadly based on numerous factors. These could include the intricacy of the mounting, the nature of your rooftop, and your geographical position. On average, you may anticipate a payment ranging from $2,000 to $10,000 for mounting.
A demanding mounting on a steep or atypical roof can escalate costs. Similarly, if you’re situated in a distant area or a region with stringent authorization prerequisites, you’ll probably face higher costs.
DIY Solar Panel Setup Costs
Considering the prospect of a self-managed solar panel setup to minimize expenses, it’s crucial to appreciate the monetary aspects entailed. You’ll indeed conserve on labor charges, but the procurement of indispensable tools and equipment should be factored in.
The cost of the solar panels can vary considerably, ranging from $150 to $300 per unit, influenced by their productivity and the brand. Essential components such as mounting fixtures and inverters can inflate your total cost by an additional $1,000 to $2,000. You’ll also require wiring and electrical accessories, adding about $200 to $400 to your bill.
Unless you’re proficient in electrical work, you may need to employ a professional electrician for the power connections, which is an additional cost. You might also require permits, which are subject to your location, but anticipate setting aside around $100 to $300 for these.
Solar Inverter Costs
The expense of your solar inverter is a critical element in the total cost of your solar panel assembly. It’s not a mere addition; it’s the lifeblood of your solar infrastructure, transforming the sun’s power into practical electricity for your dwelling. Overlooking the significance of this part could result in unforeseen expenses and suboptimal energy generation.
Mounting System Costs
The mounting system plays a pivotal role in the overall consideration of your solar panel set-up and ongoing costs. This framework ensures that your solar panels are safely fixed, optimizing their exposure to sunlight and protecting them from environmental conditions.
The kind of mount required hinges on your roof’s structure and the sun’s trajectory. The three widely adopted mounting systems are flush mounts, roof-ground mounts, and pole mounts. Though differing in price, each possesses its own unique installation prerequisites.
Bear in mind, the expense associated with mounts goes beyond the initial acquisition. It would be wise to also take into account the costs related to installation, routine care, and potential substitution. Being aware of these expenses from the start can assist you in making a well-informed choice regarding your solar panel setup.
Solar Tax Incentives
Grasping the nuances of solar tax incentives can remarkably curtail your total outlay on solar panel implementation and upkeep. These financial advantages, typically issued by the authorities, are inducements aimed at fostering the adoption of green energy. They can notably diminish the financial burden of your solar venture.
Here’s an easy-to-understand overview:
| Type of Tax Incentive | Possible Savings |
| Federal Solar Tax Incentive | Up to 26% of aggregate installation expense |
| State Solar Tax Incentives | Differ by state, could be as high as 30% |
| Local Solar Tax Incentives | Differ by location |
| Solar Renewable Energy Certificates (SRECs) | Can generate income for every 1,000 kilowatt hours (kWh) your system generates |
Maintenance Costs
Even though the initial investment for solar panel installation might be your primary concern, the continuous expenses associated with its upkeep is equally important to contemplate. By investing in regular maintenance, you’re ensuring that your solar panels operate at peak performance, which in turn leads to significant savings on your energy bills over time.
Here’s a breakdown of some crucial components of solar panel upkeep expenses:
- Routine Cleanliness: Your panels’ performance can be affected by accumulated dust and debris. A consistent cleaning schedule, which may cost about $10-$20 per panel annually, can help maintain optimal efficiency.
- Check-ups: Regular check-ups, typically priced between $150-$300, can spot potential difficulties before they escalate into major concerns.
- Fixes: Despite the robust design of solar panels, there may be times when minor fixes are necessary. The costs for these fixes can fluctuate based on the severity of the issue.
- Inverter Substitution: The inverter, the device responsible for transforming solar energy into usable electricity, may necessitate substitution every 10-15 years. This could cost around $1,000-$2,000.
8. Solar Panel Lifespan
Manufacturers assure the functionality of solar panels for a span of 25 to 30 years, but this doesn’t indicate that their functionality ceases post that period. Indeed, many persist in generating electricity at a notably elevated level.
To ascertain the lifespan of your solar panel, you need to grasp two essential aspects: the rate of performance decay and operational conditions. The rate of performance decay signifies the annual decrease in the panel’s output. Typically, solar panels experience a decay of about 0.5% to 1% per annum. This indicates that after 25 years, your panel could still function at approximately 75% to 88% efficiency.
Operational conditions also have a significant impact. If your panels are situated in a locale that’s exceptionally hot, cold, or susceptible to harsh weather, their longevity might diminish. Adequate maintenance can aid in alleviating these impacts.
Bear in mind, that an extended lifespan implies greater savings in the future. Therefore, take your time to inspect the maker’s warranty, comprehend the decay rate, and consider the climatic conditions of your installation site. It’ll assist you in making a better-informed choice about your solar investment.
Calculating Return on Investment (ROI)
Installing solar panels for your home or business is an excellent way to reduce the size of your carbon footprint, but if you get it right it can be a smart financial move too.
If you’re looking to reduce energy costs or open up a new stream of revenue, it’s important to know how to calculate solar panel return on investment. Those figures will give you the ammunition you need to justify your decision, understand the effect on your finances, and make sure you’re getting the most value from your solar panels.
ROI stands for “return on investment.” It’s essentially a measure of how the cost of something compares to the income it generates (or, in some cases, the savings that it creates). ROI is always expressed as a percentage of the initial cost of the investment.
So what is the ROI of a solar system? Knowing how to calculate return on investment for your solar system will show you whether the money you initially spent on equipment and installation (the investment) is balanced out by the money you save on energy or the money you make selling extra energy back to the grid.
Because solar panels are often installed with cost savings and income in mind, it’s a good idea to calculate a rough estimate of solar panel ROI before you begin installing. After installation, calculating the ROI can help you understand whether your solar panels are delivering the financial benefits you expected.
- The total cost of your installation over its lifetime – To find this, add the one-off cost of equipment and installation to the projected cost of maintaining your solar panels and inverters for the rest of their lifetime (solar systems don’t need much maintenance apart from occasional cleaning and repairs, but it’s worth factoring in some money for maintenance costs).
- The total benefit of your installation over its lifetime – Calculate this by finding out how much you pay or paid for electricity each year without solar panels (so you can calculate how much you saved or will save on energy bills). If you’re calculating ROI after the solar system has been installed, you might want to add to this any money you made from selling power back to the grid.
To calculate your ROI percentage, use this formula:
ROI = (Total Benefit – Total Cost) / Total Cost x 100%
Backyard Revolution:Shop now to get maximum discount,Only valid for 24 hours.Click now
Calculating Solar Payback Period
A solar payback period is the length of time it takes for you to balance out the cost of installing your solar panels. In other words, if it costs $3,000 to install your solar system, then your solar payback period is the length of time it takes you to either save $3,000 in electricity bills, make $3,000 by selling energy back to the grid, or both.
ROI is calculated for the total lifetime of your solar panels, meaning it measures how much money your panels make or save you from the moment they’re installed until the moment they stop working. Since it’s hard to know exactly when solar panels will lose effectiveness, a solar installation’s “lifetime” is usually deemed the same length as its warranty.
On the other hand, the solar payback period is calculated by understanding the cost of a solar panel and the value it generates per year. You’ll use that number to figure out how many years it will take you to balance out the cost of purchase, installation, and maintenance.
- Start your solar payback period calculation the same way you started your ROI calculation – by calculating cost vs. benefit.
- First, calculate the total cost of equipment and installation for your solar system. We’ll call this your cost.
- Next, calculate how much you spend on electricity bills per year to understand how much money your solar system saves you each year – your annual saving.
From there, the calculation is quite simple:
Solar Payback Period = Cost / Annual Saving
The number this equation gives you is the number of years it will take you to “break even” on your solar system investment.
Maximizing ROI
More and more governments around the world are offering incentives and support for solar system installations – for both individuals and businesses.
The more efficiently your solar panels are installed and arranged, the more energy you’ll be able to generate.
This means that, in addition to cutting out your electricity bill, you may be able to sell the electricity that you don’t use back to the grid, creating a new source of income.
To maximize efficiency, you should carefully think about:
- Which way your panels should face – If you’re in the Northern Hemisphere they should face south, and if you’re in the Southern Hemisphere they should face north.
- The tilt of your solar panels – Find an angle that will catch the most sunlight for the longest period of time.
- Where to place your panels – Will they catch the most light from the roof, or on the ground? Are there any trees, buildings, or walls that might block the light?
An accredited, experienced contractor will be able to help you pick the best solar panels for you, install them in a way that maximizes efficiency, and come up with ideas to help you get more ROI from your solar system.
If you want to maximize the ROI of your solar system, you should look for microinverters that convert energy as efficiently as possible and are built to avoid too much energy wastage. That means you should look for a microinverter that has:
- High CEC and MPPT ratings
- An extended warranty, so that you can get it fixed or replaced if it becomes less efficient
- Solid technical support, so you can get advice on how to install and maintain your microinverter in the most efficient way
- Built-in monitoring to help you keep an eye on how your microinverter is functioning and spot any potential issues
Conclusion
In conclusion, choosing the right solar power kit for your shed requires careful consideration of various factors. By accurately assessing your energy needs, measuring your roof size, evaluating panel types and efficiency, ensuring component compatibility, and understanding the costs and potential return on investment, you can make an informed decision that aligns with your requirements and budget.
Remember, investing in a solar power system for your shed not only provides a sustainable energy solution but can also lead to long-term cost savings and environmental benefits. With the right solar power kit, you can enjoy the convenience of a self-sufficient shed while contributing to a greener future.
Backyard Revolution:Now its time to build your own solar pant in just 4 hours.Click now