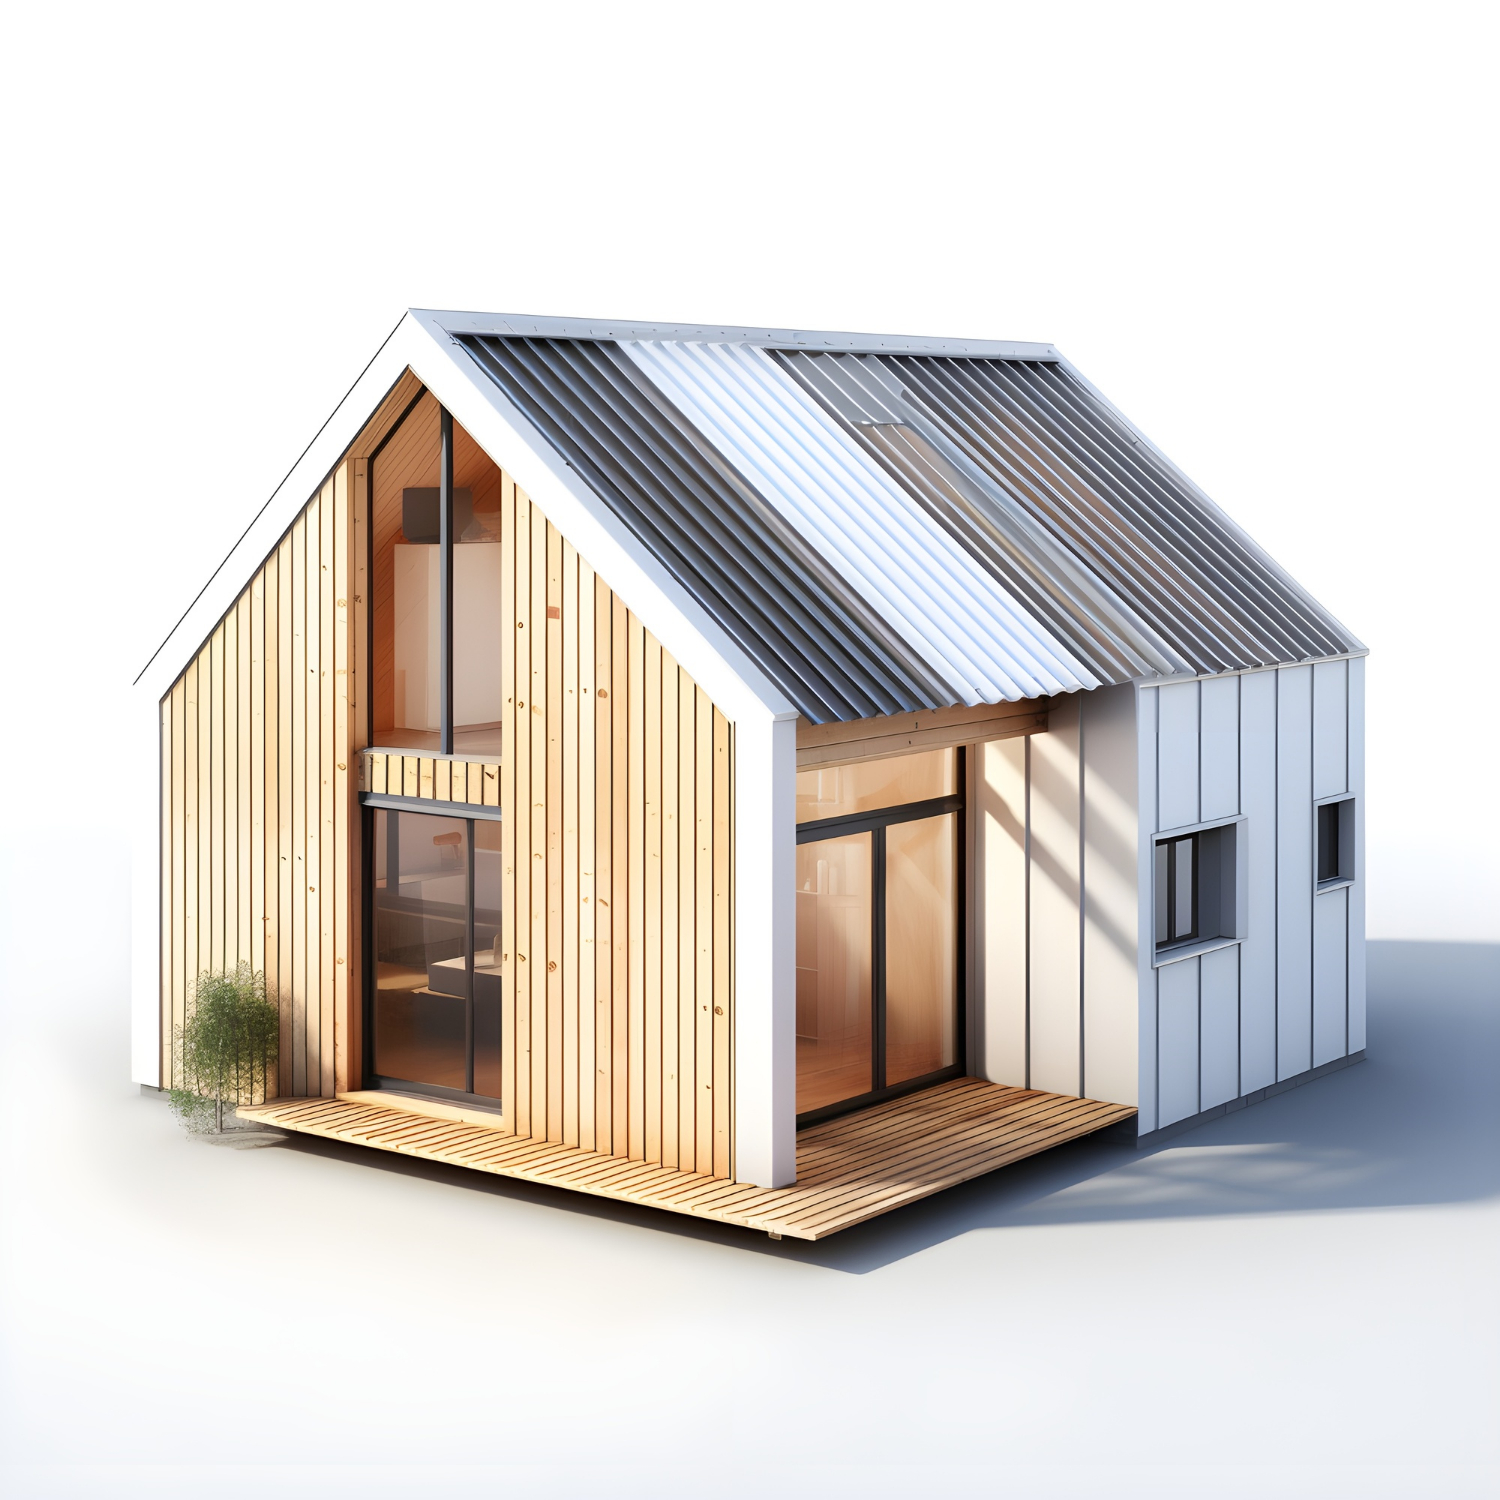
Building your own shed is not only a testament to your craftsmanship but also an opportunity to create a space that is perfectly tailored to your needs. Here’s an in-depth guide to help you turn the blueprint of your ryan shed plans into a reality.
Assessing Your Needs and Planning
Define Purpose and Size
- Identify Function: Consider what you will store in the shed or if you’ll use it as a workspace. The function will influence the design, size, and even the materials you choose.
- Determine Size: Calculate how much space you need. Remember, a larger shed might require a building permit, so check local regulations.
Selecting the Location
- Accessibility: Ensure the site is convenient for you to reach and bring in large items. Think about the path you will take to enter the shed.
- Sunlight and Drainage: A sunny spot is ideal for natural light, and high ground helps avoid water pooling around your shed.
Legal Considerations
- Building Codes: Your local building department can inform you about the need for permits based on shed size and location.
- Permits: Secure all necessary permits to ensure your project is legal, helping you avoid fines or forced removal of your shed.
Designing Your Shed
Choose a Design
- Aesthetic Harmony: Pick a shed design that not only meets your functional needs but also complements your home’s style.
- Functionality: Consider the door width for equipment, the height for storage, and whether you need windows for ventilation and light.
Plan the Layout
- Internal Layout: Sketch out where everything will go inside. This will help you determine where to place doors and windows.
- Door and Window Placement: Position doors for easy access and place windows to maximize light and airflow.
Materials List
- Structural Materials: Enumerate all the lumber, fasteners, roofing materials, and foundation materials you’ll need.
- Finish Materials: Decide on the type of siding, door material, window styles, and the paint or stain colors.
Tools and Equipment
Basic Toolset
- Essential Tools: Gather a hammer, saws, tape measure, level, drill, and ladder. These are the basics you’ll use throughout the build.
- Power Tools: Automated tools like a circular saw and a power drill can save time and effort.
Safety Gear
- Protection Equipment: Don’t overlook safety glasses, ear protection, a dust mask, and sturdy work boots to prevent injuries.
Rental Equipment
- Heavy-Duty Tools: For tasks beyond the capabilities of your toolset, such as concrete mixing, look into renting the necessary equipment.
Preparing the Site
Clear and Level
- Site Preparation: Remove any sod, rocks, or other debris. Use a shovel and rake to get a level surface.
- Groundwork: Use strings and stakes to outline the shed’s footprint, ensuring it’s squared off and level.
Foundation
- Foundation Options: A concrete slab is permanent and sturdy, while pier blocks are less invasive and can be adjusted.
- Installation: Follow detailed instructions for your chosen foundation type to ensure a level base for your shed.
Building the Floor Frame
Floor Joists
- Structure: Use pressure-treated lumber for the joists, which will be in contact with the ground and susceptible to rot.
- Support: Position the joists at 16-inch intervals for a standard shed, ensuring they are secure and level.
Plywood Sheathing
- Flooring: High-quality plywood will create a solid floor. Ensure that it is adequately nailed or screwed down to the joists.
Anchoring the Floor
- Stability: Use anchor bolts if you have a concrete foundation, or heavy-duty screws for a wood foundation.
Constructing the Walls
Wall Framing
- Studs and Headers: Measure and cut studs for the walls, plan for a header over doors and windows, and assemble the wall frames on the ground.
Sheathing the Walls
- Exterior Walls: Attach the sheathing to the wall frames, which adds rigidity and forms the base for siding.
Raising the Walls
- Assembly: Lift the walls into place, securing them to the foundation and to each other, making sure they are level and square.
Assembling the Roof
Building Roof Trusses
- Truss Construction: Although more complex, trusses provide better support for the roof. Construct these carefully or consider purchasing pre-made trusses.
Roof Sheathing
- Covering: Plywood or OSB panels are common for roof sheathing. Ensure the panels are securely fastened to the trusses.
Roofing Material
- Weatherproofing: Pick a roofing material suitable for your climate. Asphalt shingles are popular due to their balance of cost, durability, and ease of installation.
Adding Doors and Windows
Door Frames
- Entrances: Construct frames that will support the weight of the doors and keep them square over time.
Window Installation
- Natural Light: Install flashing before setting the windows to prevent water leakage. Ensure the windows are level and can open and close smoothly.
Hardware
- Access: Invest in high-quality door hinges and locks for security and long-lasting functionality.
Exterior Finishing
Siding
- Protection: Weather-resistant siding, like vinyl or wood, will protect the shed from the elements. Make sure it’s properly nailed and sealed.
Trim
- Details: Trim can be both decorative and functional, sealing gaps where siding meets windows and doors.
Painting or Staining
- Final Coating: This not only adds to your shed’s appeal but also provides an extra layer of protection from the elements.
Interior Setup
Insulation
- Climate Control: If you’re in a climate with extreme temperatures or plan to work in the shed, insulation is a must.
Interior Walls
- Finishing Touches: Plywood or drywall can be used to finish the interior walls, depending on your preference and the shed’s use.
Shelving and Storage
- Organization:Plan for ample shelving and hooks to keep tools and equipment off the ground and organized.
Final Touches
Sealing Gaps
- Weatherproofing: Use silicone caulk to seal any gaps, especially around windows and doors.
Landscaping
- Integration: Landscaping can make your shed look like a natural part of your yard. Consider planting flower beds or shrubs around the base.
Maintenance
- Upkeep: Regularly inspect your shed for signs of wear and tear, and address any issues promptly to prolong its life.
Conclusion
By breaking down the shed-building process into manageable steps, you can confidently approach this project with a clear understanding of what it entails. Remember to take your time, enjoy the process, and look forward to the multifaceted benefits of your new backyard shed.